There’s something so joyful about making Traditional Rosette Cookies! Those delicate, crispy, lacy treats that taste like a funnel cake but lighter and more elegant. These Scandinavian-inspired cookies are made by dipping a hot iron into a thin batter, then frying it until golden and crisp.

It’s kitchen magic at its finest!
When I first tried to make rosettes, it was a total disaster: batter everywhere and not a single cookie worth saving. But with a little practice (and maybe a few laughs), I’ve mastered the process, and now I’m sharing all my best tips so you can learn how to make perfect rosette cookies on your very first try.
If this is your first time, I recommend having a helper until you get comfortable with the technique.
By the halfway mark, you’ll be swirling that iron like a pro. Once you get the rhythm down, these cookies come together easily. And they’re guaranteed to impress at any holiday table or afternoon coffee break.
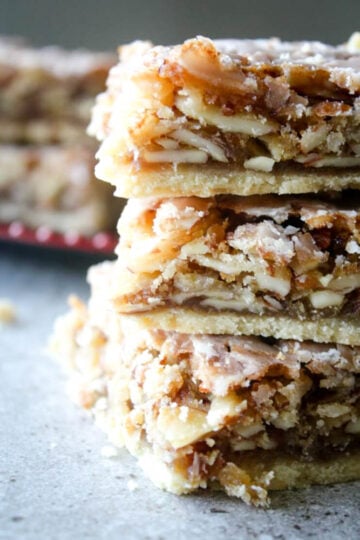
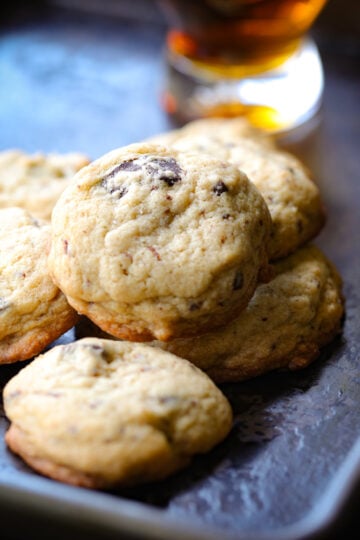
For more homemade cookie inspiration, check out my Bourbon Chocolate Chip Cookies, Chocolate-Dipped Almond Cookies, and my roundup of 20 Chocolate Cookie Recipes. All delicious, all easy to bake at home.
Top Tips for TRADITIONAL ROSETTES RECIPE
- Keep your oil temperature steady. Rosettes fry best at 365°F (185°C). Too hot, and they’ll brown before crisping up; too cool, and they’ll absorb oil and turn soggy. Use a thermometer for accuracy.
- Preheat the iron between each cookie. Dip the rosette iron in the hot oil for about 10 seconds before each dunk into the batter. This helps the batter cling properly and release easily into the oil.
- Avoid coating the top edge of the iron. If batter goes over the top, it will trap the cookie and make it hard to release. Dip just until the iron is almost fully covered, but not over the rim.
- Work with a steady rhythm. After dipping, let the batter shape for a few seconds before gently lifting and dipping in a slow pumping motion.
- Don’t overcrowd the pot. Fry one or two rosettes at a time. Overcrowding drops the oil temperature and causes uneven cooking.
- Drain on a cooling rack. Avoid paper towels since they create steam and make cookies limp. Cooling racks allow air to circulate for that signature crisp texture.
- If batter sticks to the iron, don’t panic! Continue dipping briefly until it loosens, or use a wooden skewer to gently coax it off. If this keeps happening, wipe off any cooked bits, reheat your iron, and try again.
- Discard leftover batter when it becomes oily. As you near the end, the batter will collect oil residue — simply toss the last ½ cup to keep flavors fresh.
FAQ for Making Rosettes at Home:
Usually, the oil wasn’t hot enough, or the cookies weren’t fried long enough to dry out fully. Ensure the oil stays around 365°F and that rosettes turn golden and crisp before removing them. Also, avoid covering them while cooling.
The iron may have been too cool or too oily. Always preheat the iron in the hot oil before dipping, and shake off excess oil before touching the batter.
Humidity is the culprit. Store completely cooled rosettes in an airtight container with paper towels. You can re-crisp them in the oven for a few minutes if needed.
Yes! You can prepare the batter up to 24 hours in advance and refrigerate it. Stir well before using to recombine any separated ingredients.
Use a neutral oil with a high smoke point such as vegetable, canola, or sunflower oil. Avoid olive oil or butter — they’ll burn too quickly.
Absolutely! Add a touch of citrus zest, a pinch of cinnamon, or a few drops of food coloring for festive versions. Just keep liquid additions minimal to maintain the right batter consistency.
Storing Rosettes
Short-term:
Let the rosettes cool completely before storing. Place them in an airtight container lined with paper towels to absorb moisture. They’ll stay crisp for up to 3 days at room temperature.
Long-term:
Rosettes can be frozen for up to 2 months. To freeze, layer them between sheets of parchment paper in a freezer-safe container. When ready to serve, re-crisp in a 325°F (160°C) oven for 5–7 minutes — no need to thaw first.
Avoid refrigerating rosettes, as humidity softens their delicate texture.

How to Make Rosette Cookies
Traditional Rosettes. Fried batter made with metal patterns: crispy with powdered sugar. Tricky at first but with my help, you will be golden!
Ingredients
- 1 cup flour
- 1 cup milk
- 1 teaspoon vanilla
- 1 tbs sugar
- ½ teaspoon salt
- 1 egg
- vegetable oil
- powdered sugar
Instructions
- Fill a medium sauce pan ⅓ full with vegetable oil. Heat oil to 365F.
- Mix milk, vanilla, and egg together and set aside.
- In a large mixing bowl mix flour, sugar, and salt.
- Make a well in the middle of the flour mixture and slowly stir in liquid mixture until batter is smooth.
Frying the Rosettes:
- Select your Rosette iron and dip in the hot oil for 10 seconds. Shake off any excess oil.
- Dip the rosette iron into the batter. DO NOT let the batter rise above the top of the iron.
- Dip the iron into the hot oil for 4 seconds. This allows the batter to take shape.
- Then with a slow pumping action lift the iron in and out of the oil.
- The fried batter should separate from the iron. *See notes if batter doesn't separate from the iron.
- Let the rosette fry for a few seconds and brown then turn it over to brown the other side. I used a wooden skewer to turn over and remove the rosette from the oil.
- Lift out of the oil onto a cooling rack.
- Repeat the steps.
- Sprinkle with powdered sugar when cooled.
Nutrition Information:
Yield: 8 Serving Size: 1 gramsAmount Per Serving: Calories: 162Total Fat: 3gSaturated Fat: 1gTrans Fat: 0gUnsaturated Fat: 2gCholesterol: 26mgSodium: 169mgCarbohydrates: 30gFiber: 0gSugar: 18gProtein: 3g
All amounts are estimates and DailyAppetite takes no responsibility for actual figures since calculations vary by packaging and supplier.